Module 3 Formstorming
Weekly Activity Template
Ho Yi Chloe Tang
Project 3
Module 3
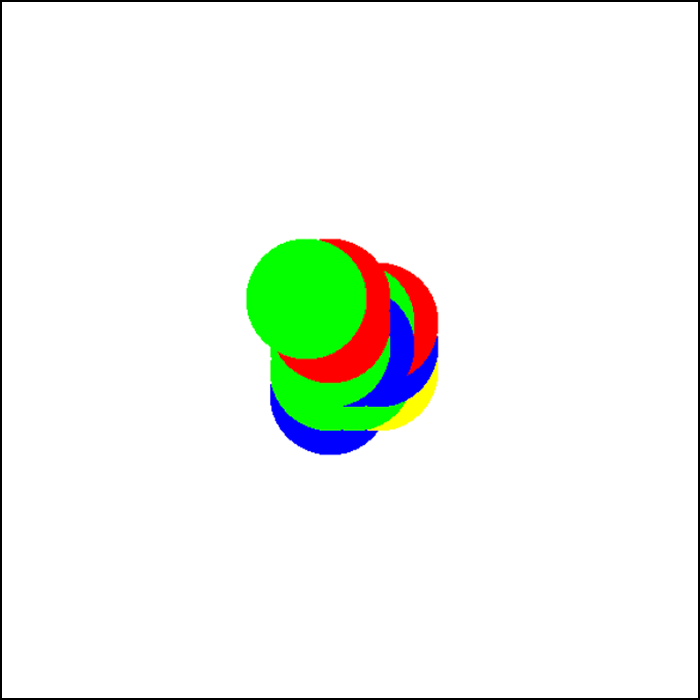
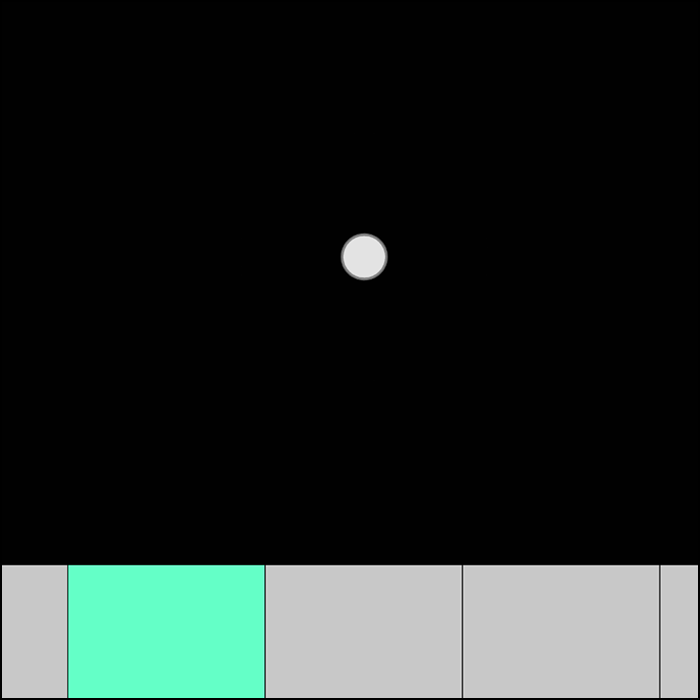
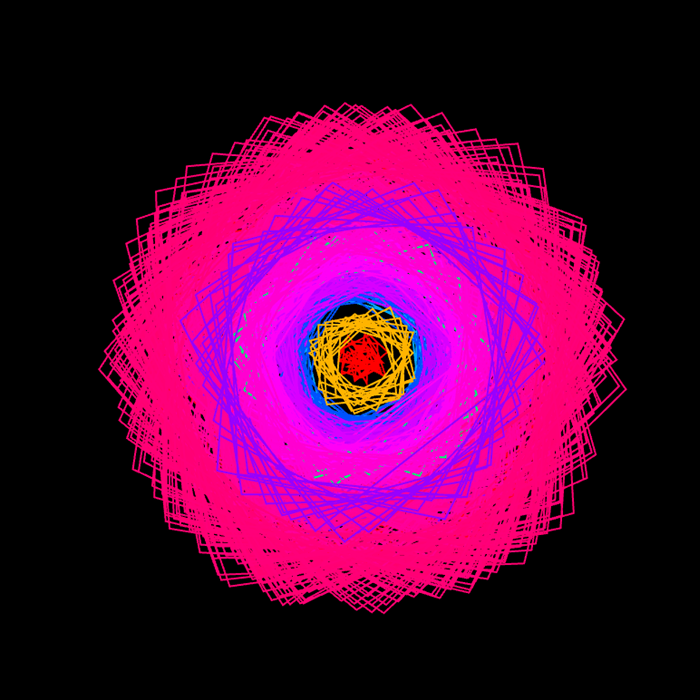
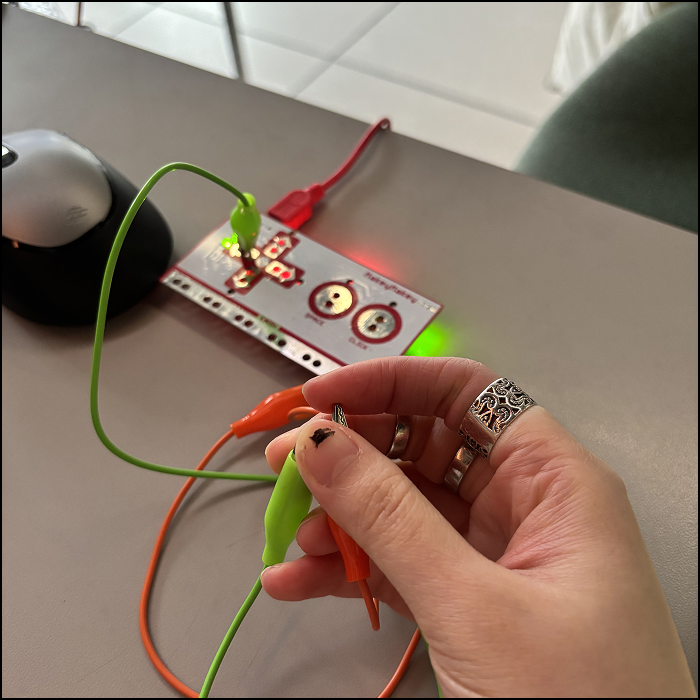
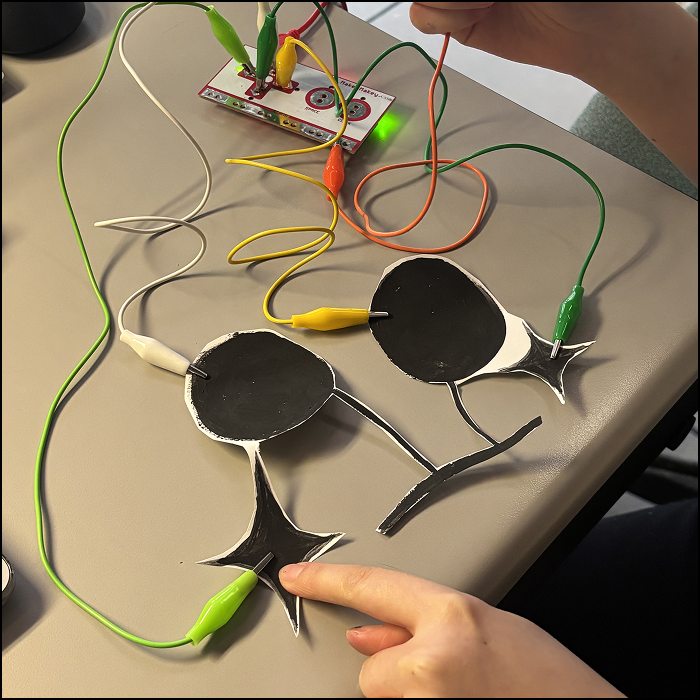
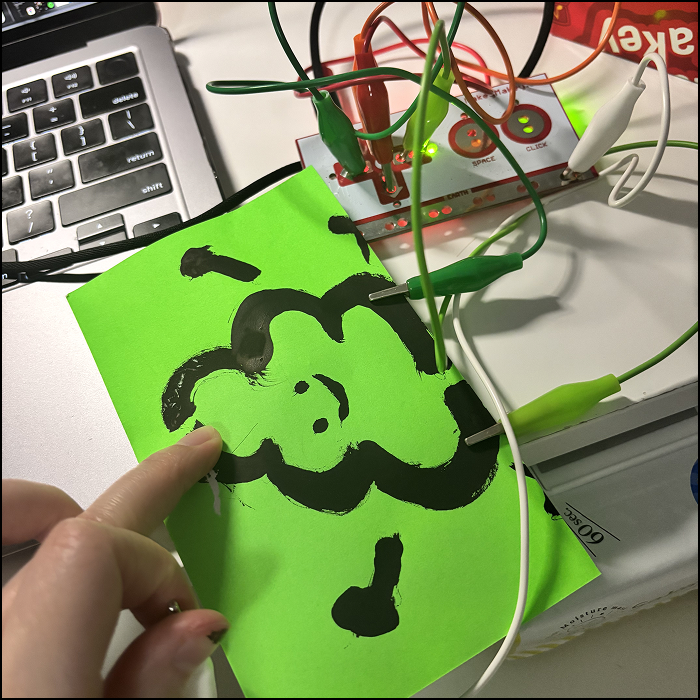
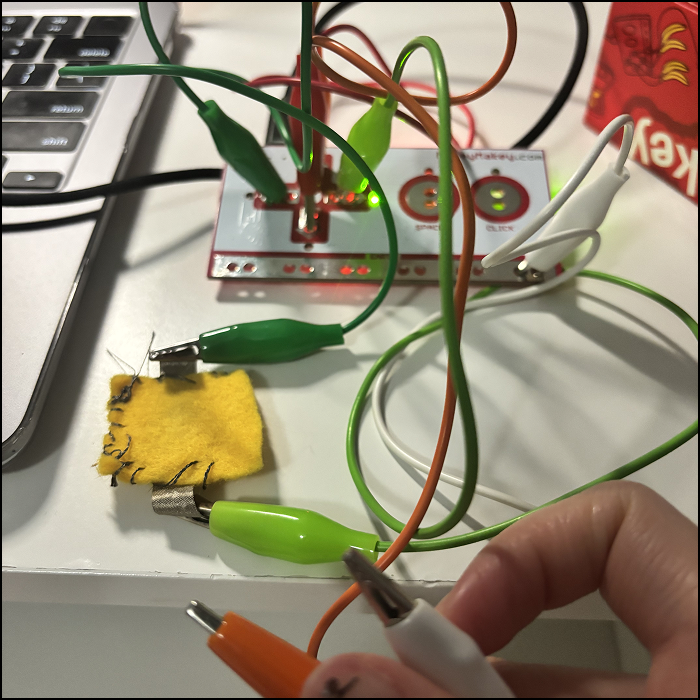
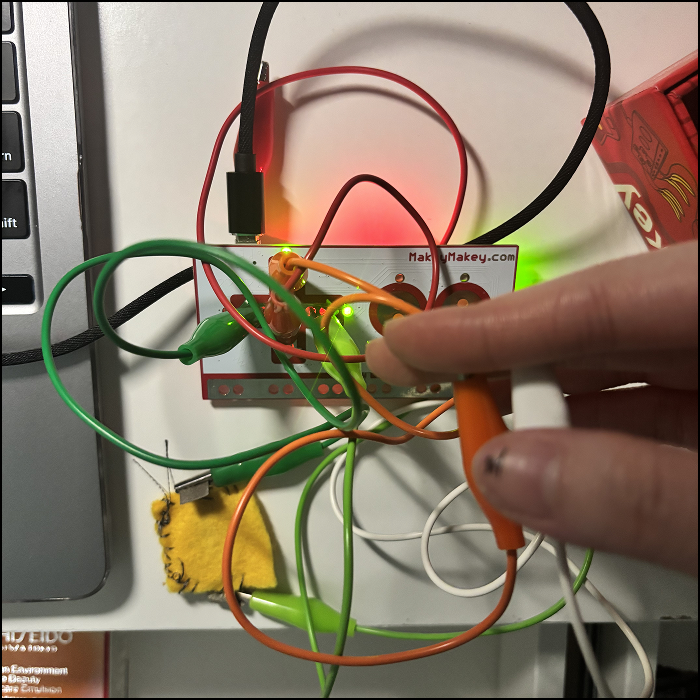
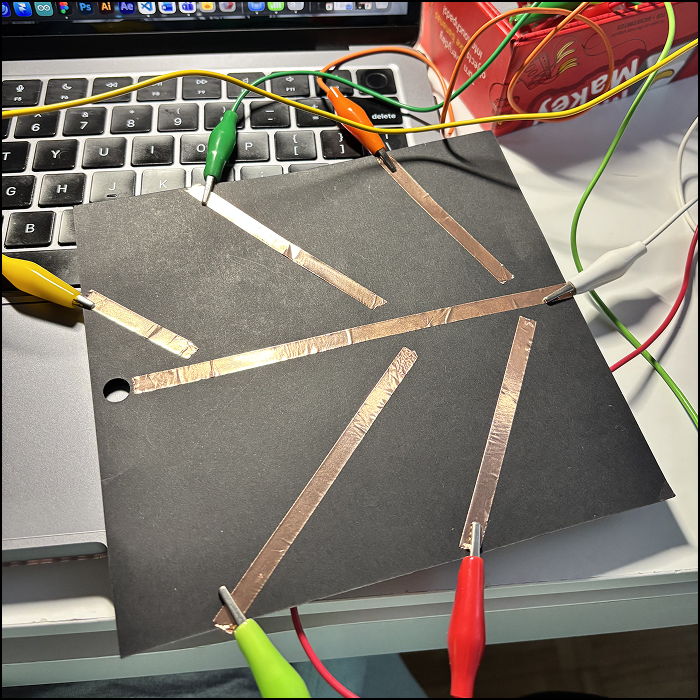
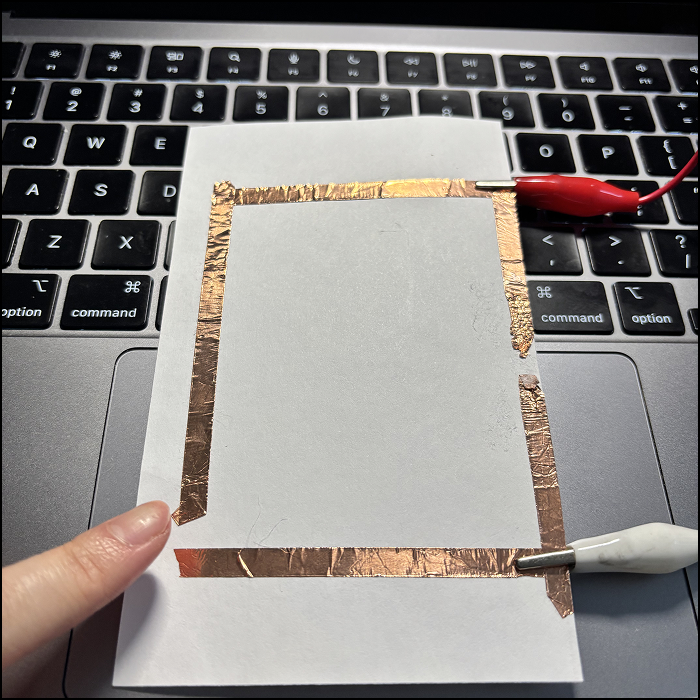
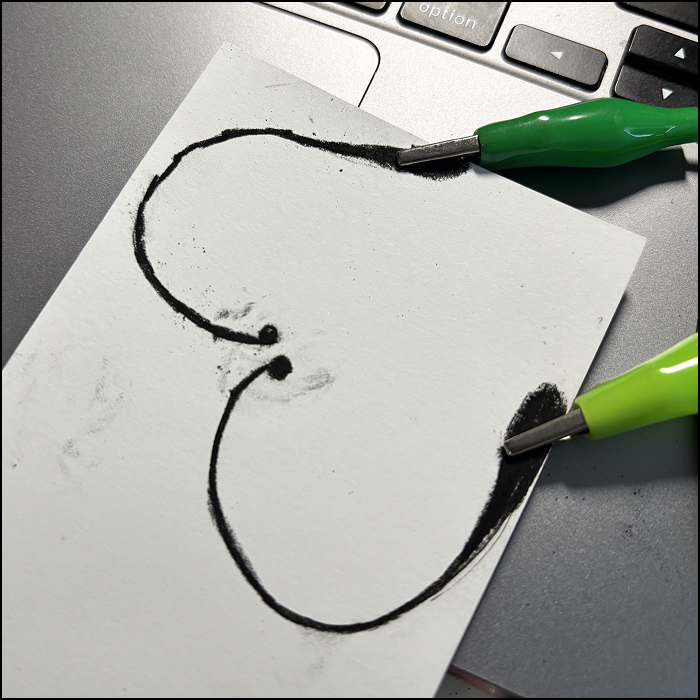
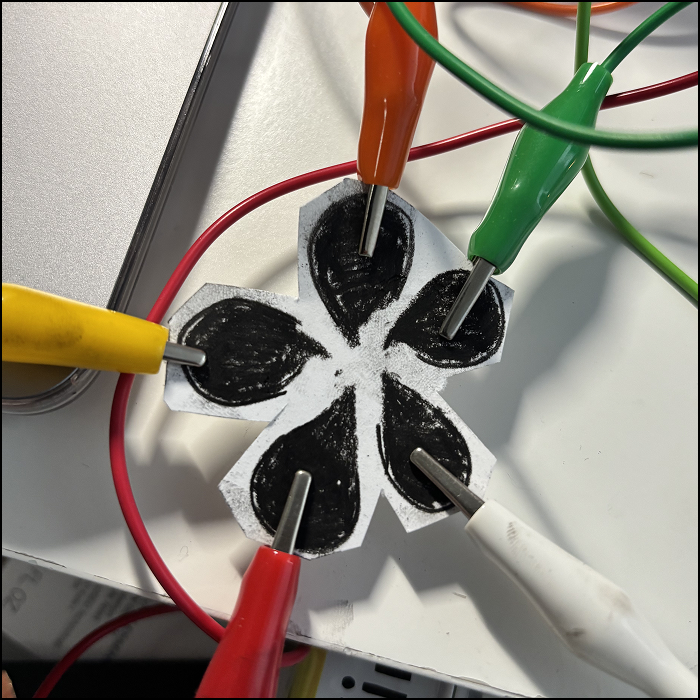
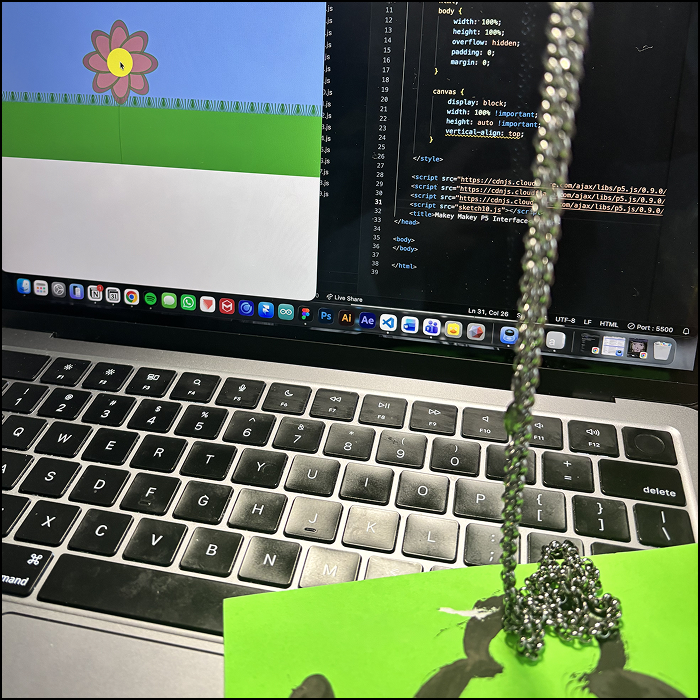
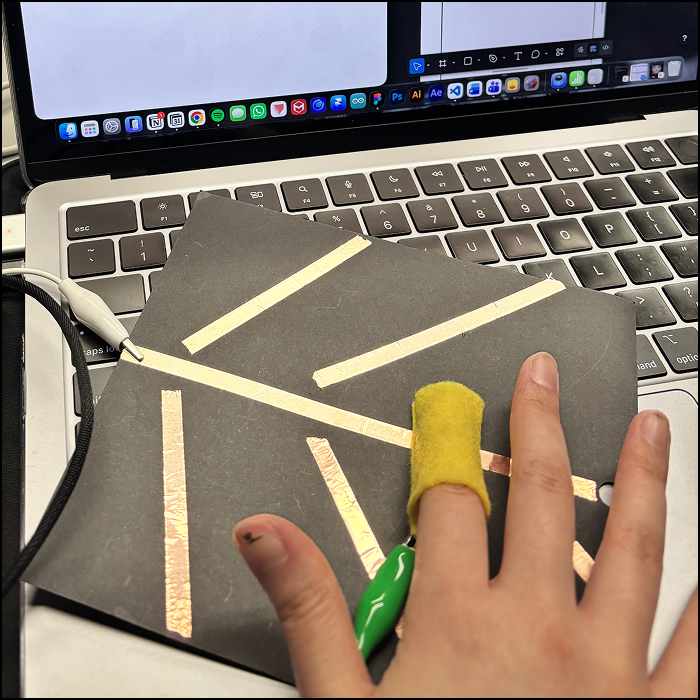
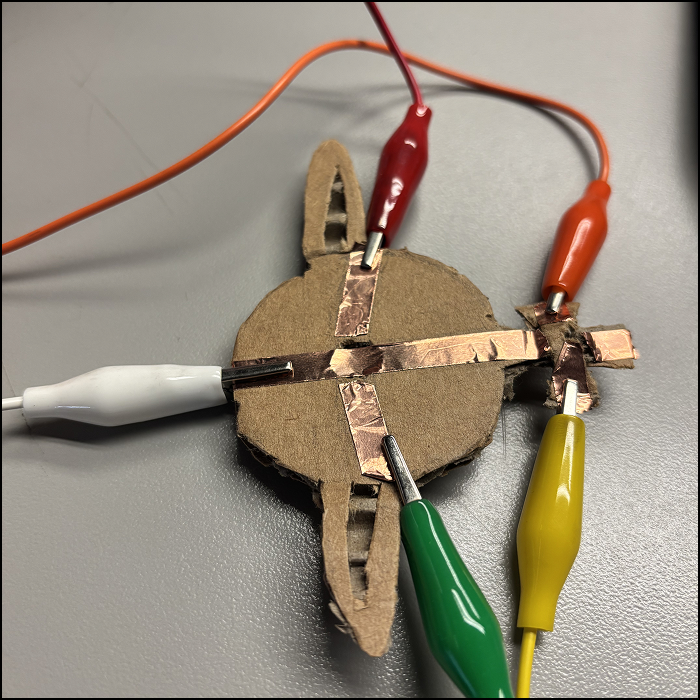
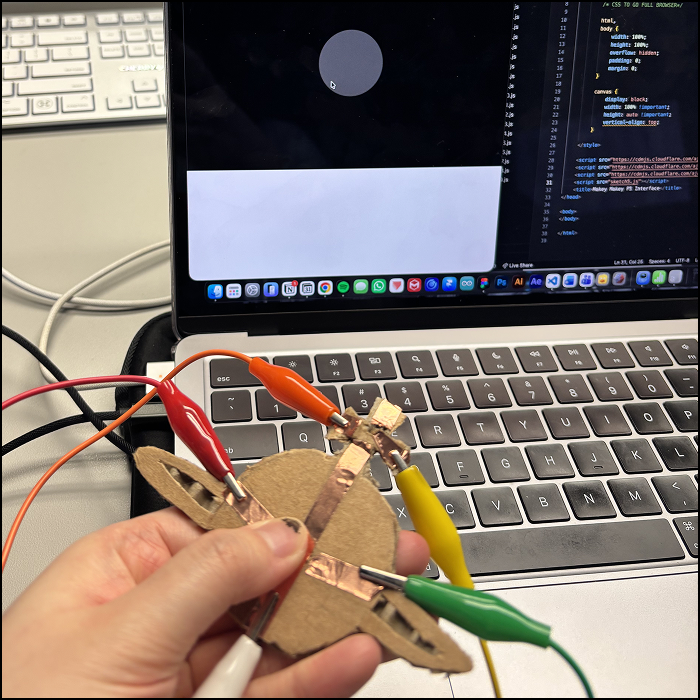
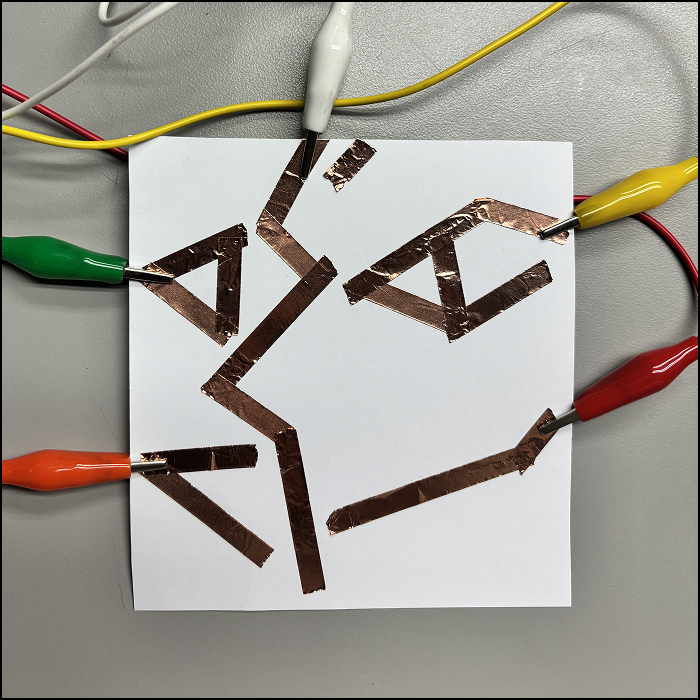
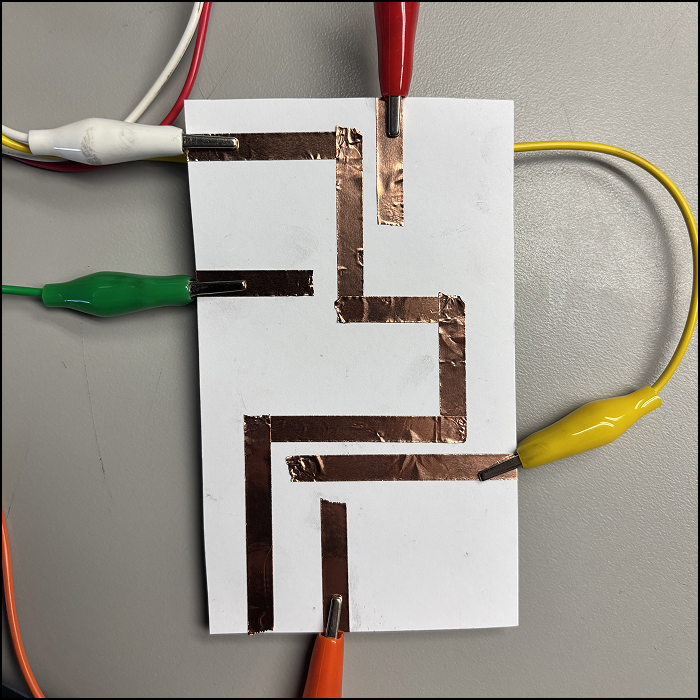
In activity 1, I tested p5.js with Makey-Makey, testing how keypads can be utilised to be interacted with.
Activity 1
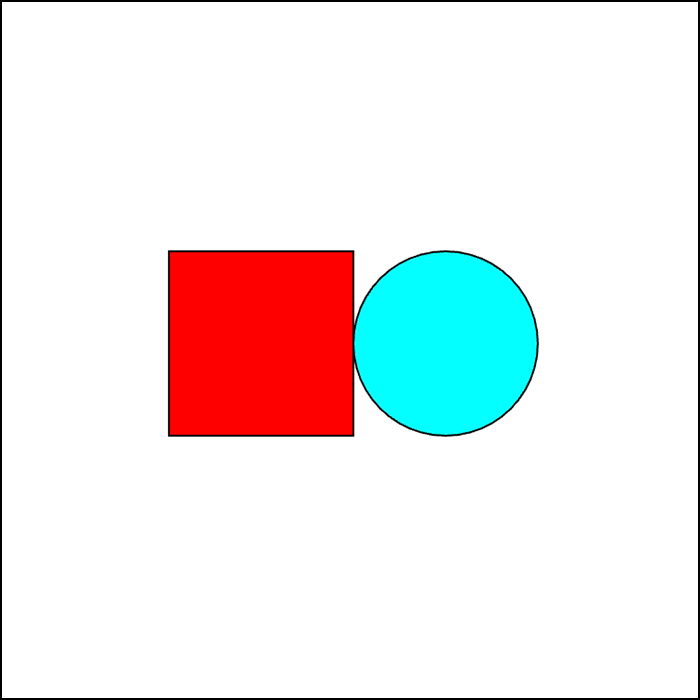


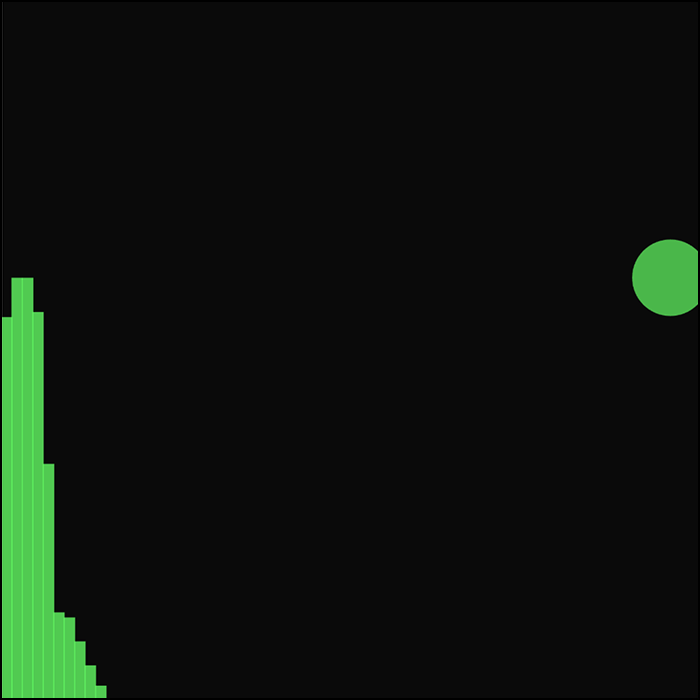


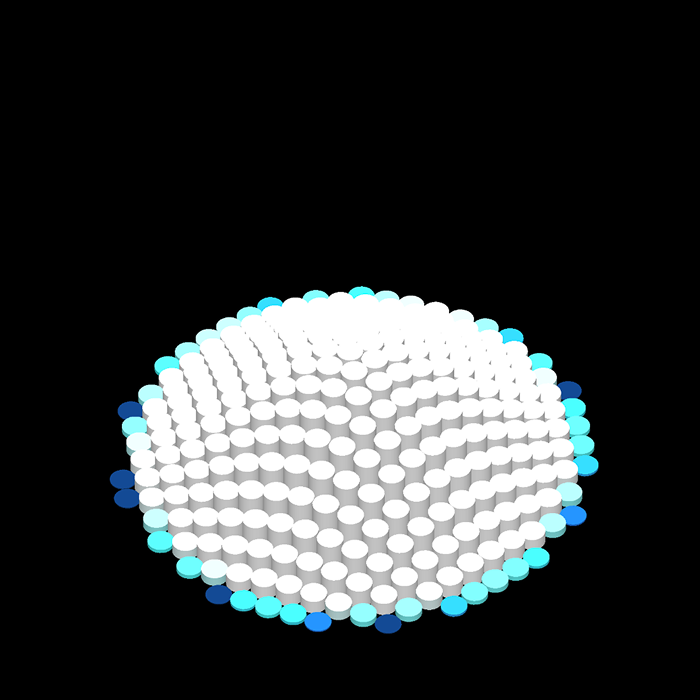
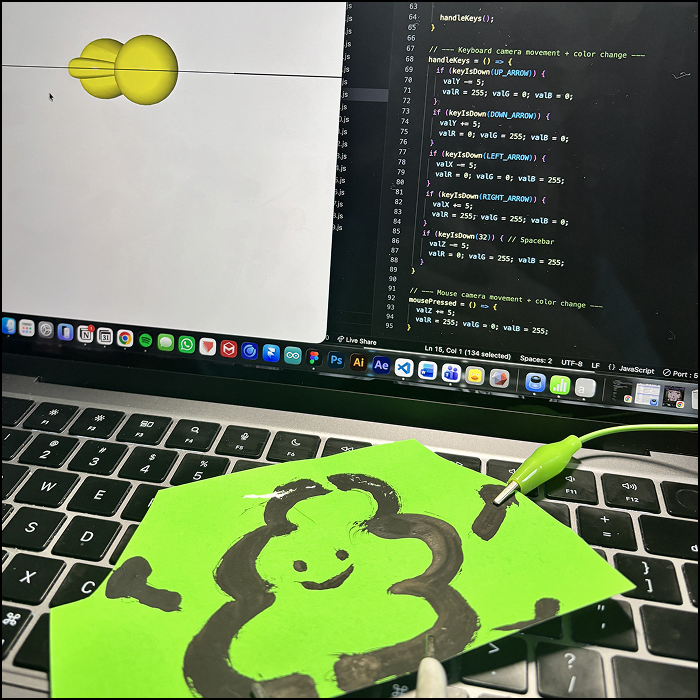
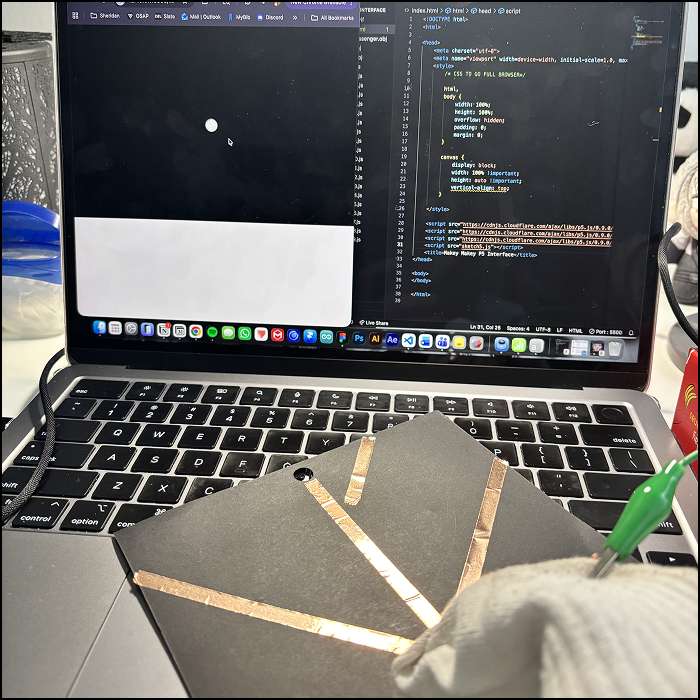
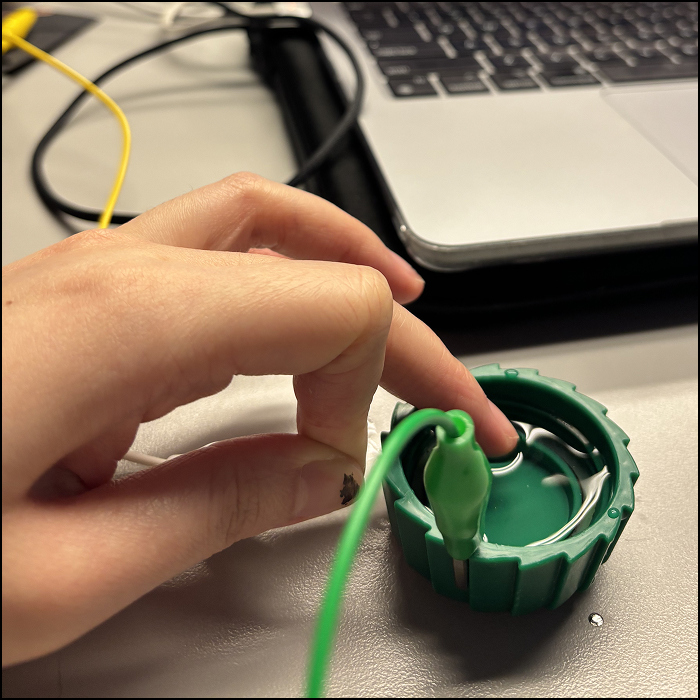
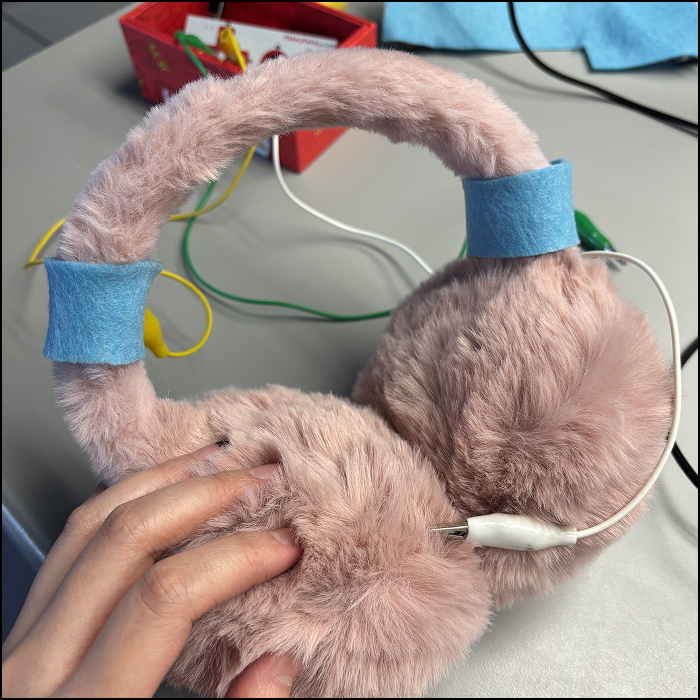
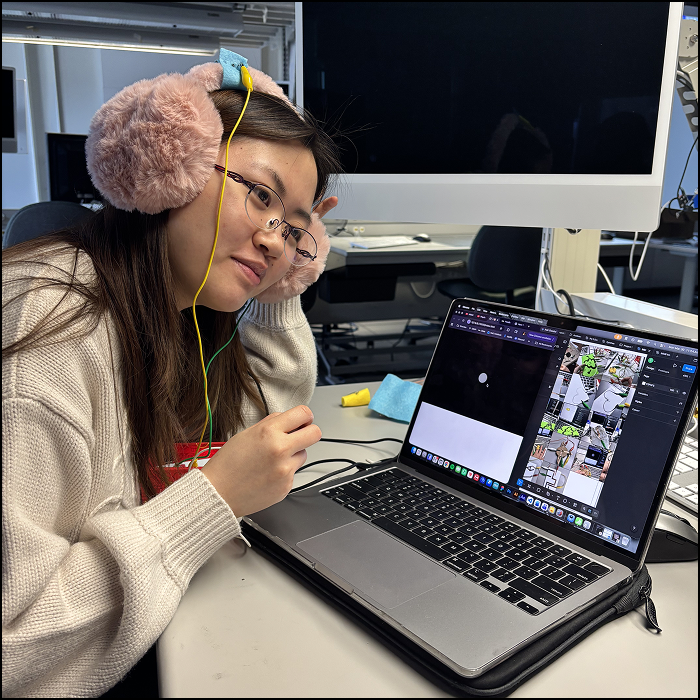
Activity 2


Project 3
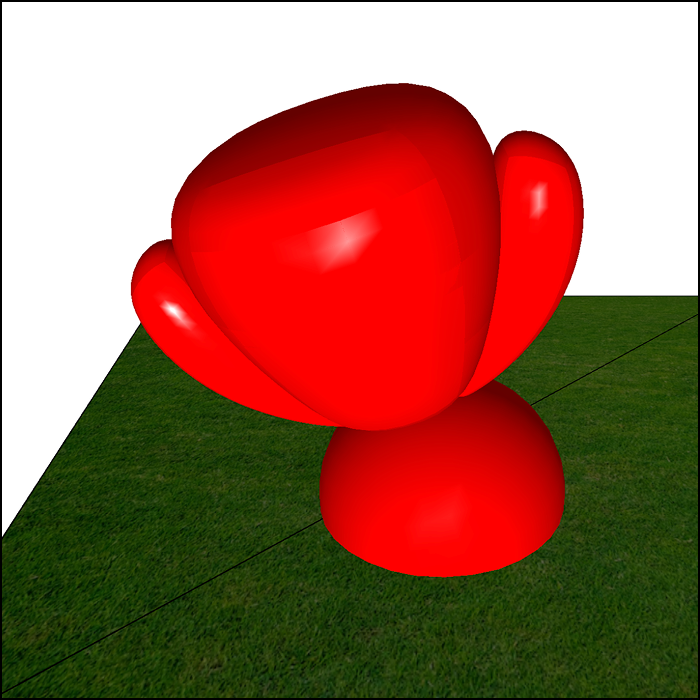
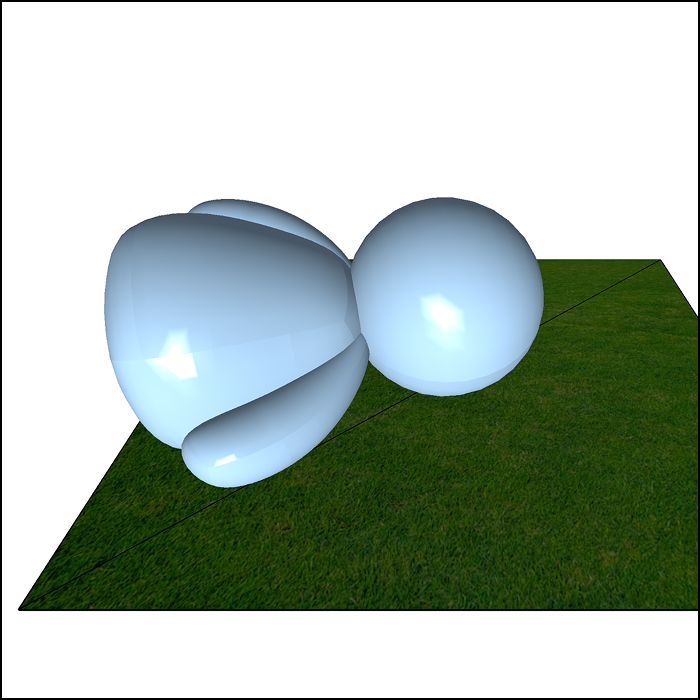
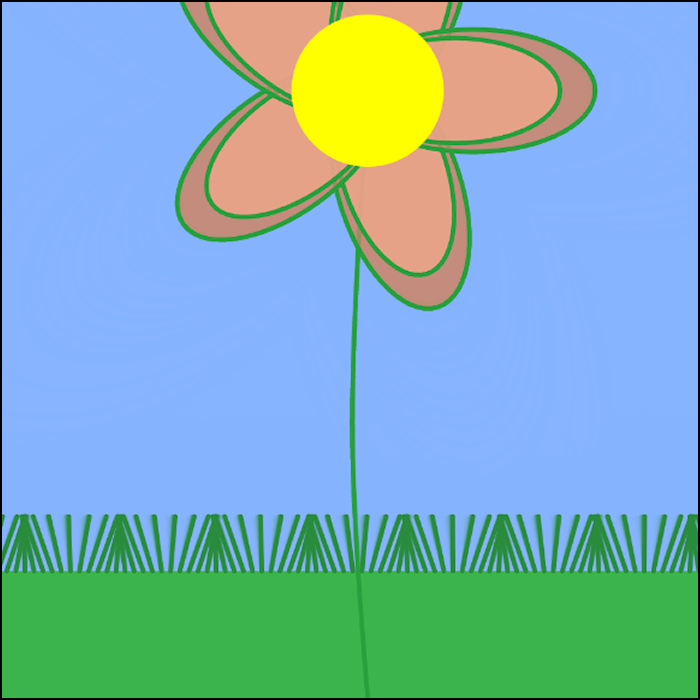
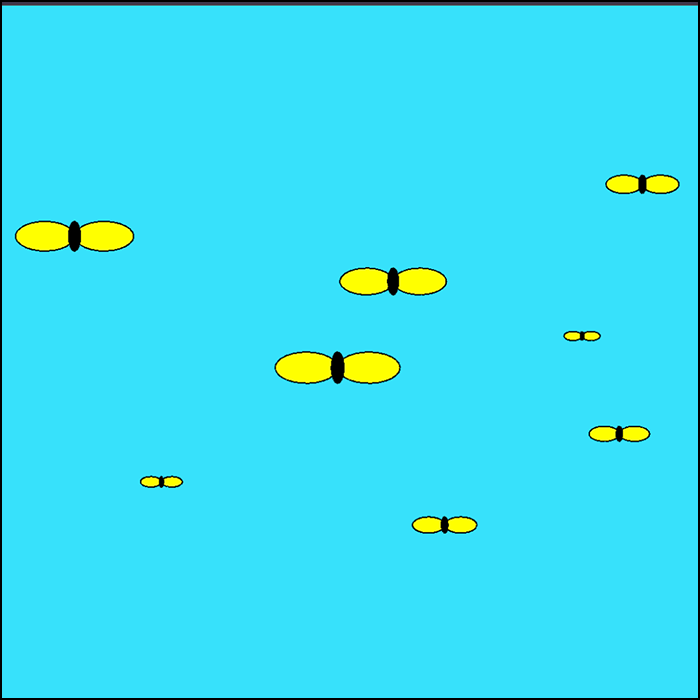
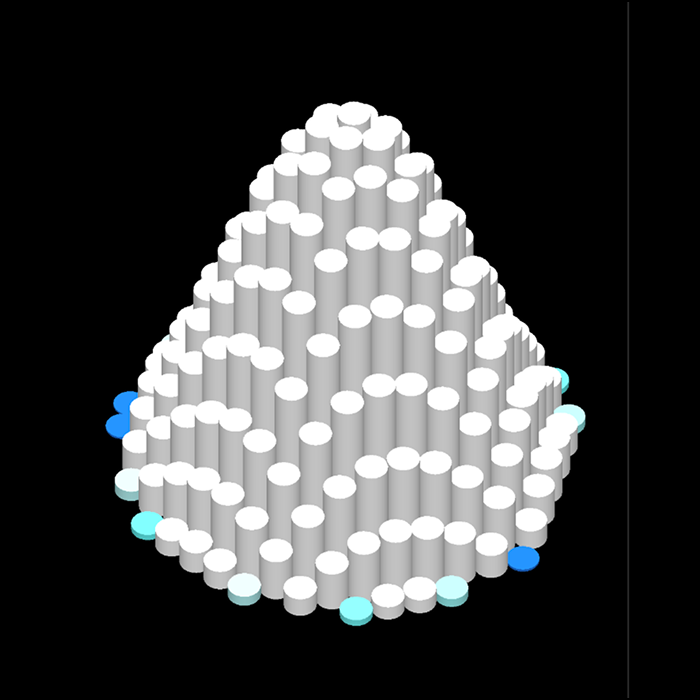
Final Project 3 Design
An interactive audiovisual experience that explores the creation of a higher power through the trinity of flesh, engine, and the divine .
Here are the link to my published GitHub file. I also attached YouTube link here.
Powered by w3.css